To create a digital paper-cut effect
To make an illustration glow
To add texture to an illustration using custom brushes
To animate illustrations using only Procreate
To work with layers
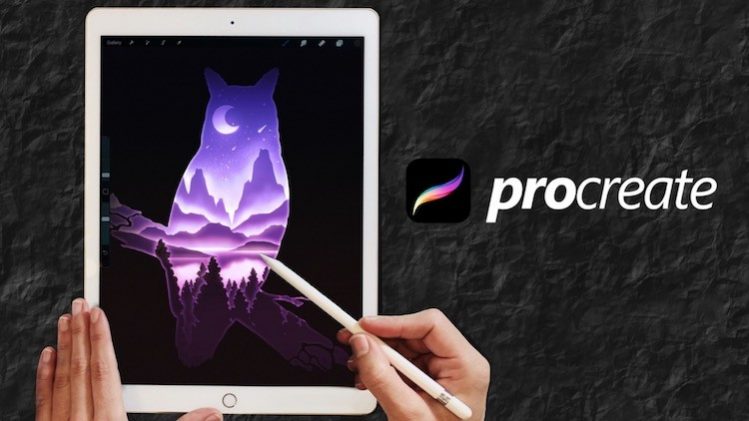
In this class, I will show you step-by-step how to turn your iPad into a layered paper cut light box.
This time, I don’t want you guys to worry about how to draw trees, the sky, mountains or any other element of the composition. I want you to be focused on making the illustration glow and cast rich shadows to get a enchanting scene. So, I’ve put together a set of brushes and two color palettes for you.
We are going to make together three fun and easy exercises and I will share with you lots of useful tips along the way.
For starters, I will walk you through my process to create a nice (paper cut) landscape. Then, we will add texture, light and shadows to our landscape and turn it into a paper cut light box. And finally, we will create a magical multicolored animation of our wonderful light box.
Whether you are a Procreate beginner or expert, this class is for anyone looking for improving their skills and learning new techniques when drawing digitally.
Ready to have fun creating a paper-cut light box? Let’s get started!
Basic knowledge of Procreate is recommended but not required to take this class. Having said that, let’s get started!


